
Assessment · How to
How to photograph your scar for a free assessment
Good photos mean a better first answer. It takes two minutes and a window.
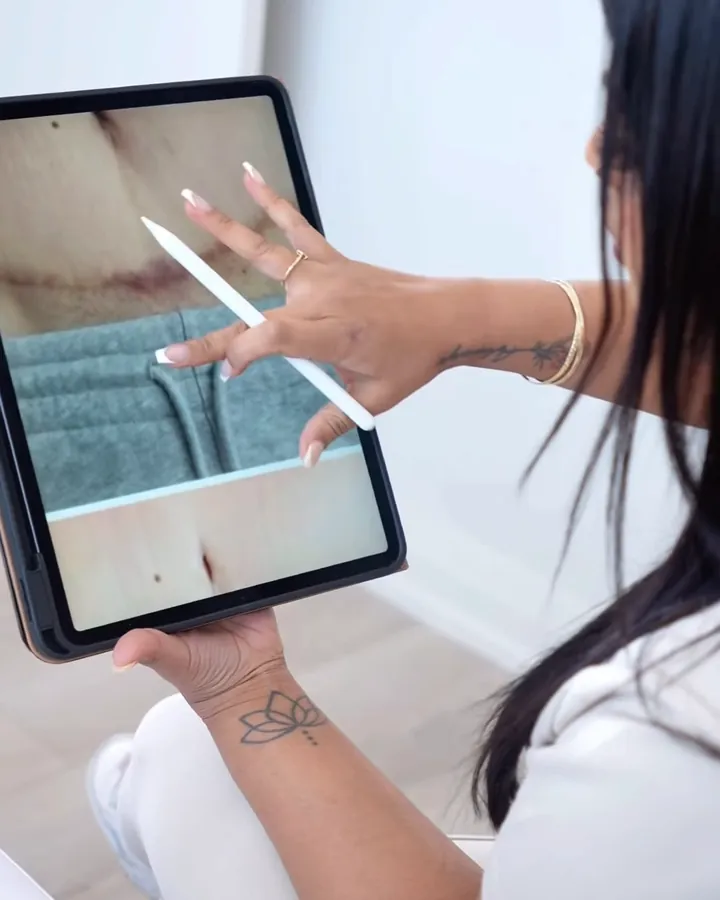
You do not need a good camera, just good light. These steps work for scars, stretch marks and vitiligo.
Step by step
- 1. Find daylight. Stand near a window during the day. Turn off warm indoor lights and do not use flash.
- 2. Straight-on photo. Phone about 30 to 40 cm away, square to the skin, whole area in frame.
- 3. Side-light photo. Turn so the window light skims across the skin. This shows whether the scar is raised or dented.
- 4. A close-up. One closer photo so the colour difference is clear.
- 5. No filters. No beauty mode, filters or editing.
- 6. Send with details. How old is the scar? Is it still changing? Any keloids in your history?
“We don’t fix texture, we fix color.”
Evelyn Alvares Vega, founder of SKINEAV
What helps even more
- A second photo of the same area taken a few months ago, if you have one, shows whether the scar has settled
- For vitiligo, a coin or ruler in the photo for scale
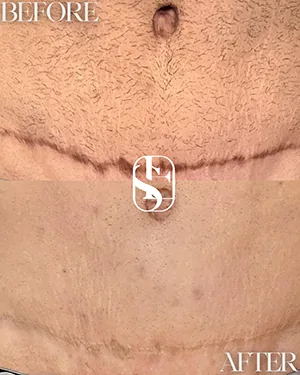
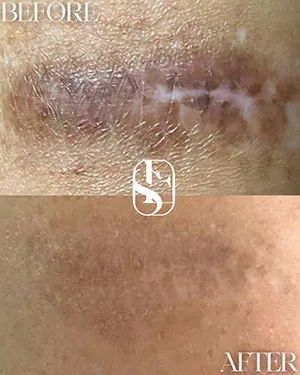
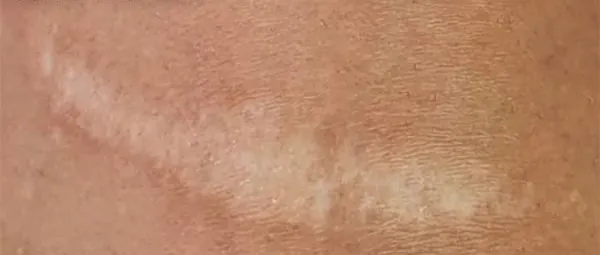
Real results and real moments
Privacy
Only the skin needs to be in the photo. You do not need to show your face. Photos are used only to assess your skin.
How it works at SKINEAV
- Photo or callSend a photo or book a free phone consult. Honest first answer.
- Assessment & colour testIn clinic, Evelyn checks your skin and tests a custom formula.
- TreatmentPigment placed precisely, only where it is needed, one-on-one.
- Heal & reviewThe colour settles over weeks; follow-ups are planned if needed.
Where to send
Use the free assessment form or WhatsApp. You will get an honest first answer.
Frequently asked questions
Do I need to show my face in the photo?
No. Only the area of skin needs to be in the photo.
Why take a photo in side light?
Side light shows whether a scar is raised or dented, which affects what camouflage can do.